
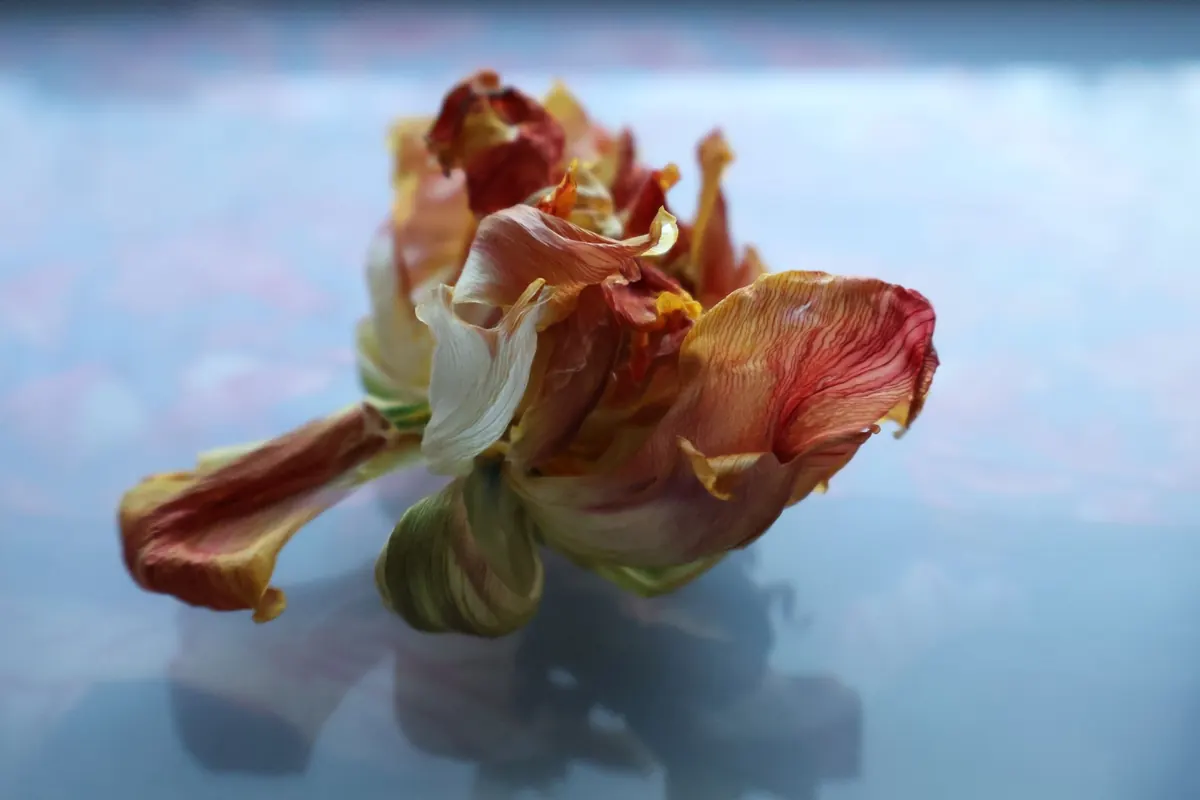
Your tulips have finished. Petals are scattered across the path, the stems are bare, and the leaves are starting to look distinctly ragged. The temptation is to clear the lot and fill the gap with something else. Resist it. Those floppy leaves are the bulb's only means of building next spring's flowers, and the few weeks after flowering decide whether you get another good display or a row of blind, leafy shoots.
Why the weeks after flowering matter
A tulip bulb is a storage organ. Everything needed to push up this year's flower was packed into it the previous summer, and by the time the petals drop, that reserve is spent. The bulb is now running on empty, and the only way it can refill is through the leaves.
Green foliage captures light and turns it into sugars, which travel down the stem and are stored in the bulb as next year's flower bud and food supply. Cut the leaves off the day after flowering and you remove the factory while the order is still being made. Leave them to die back naturally and the bulb has roughly six weeks to stock up.
In the wild, tulips come from places with cold winters and hot, dry summers. That rhythm is worth remembering: moisture while the plant is growing, then a dry dormancy once the leaves have gone. Most after-flowering mistakes come from getting that pattern the wrong way round.
Deadheading: the job that pays for itself
Once the petals fall, a tulip will start forming a fat green seed pod. Seed production is expensive, and the bulb loses resources it would rather keep. Removing the flower head redirects that energy downwards.
How to deadhead a tulip
- Wait until the petals have dropped or shrivelled, but while the top of the stem is still green and firm.
- Use sharp snips, or pinch the stem between finger and thumb if it snaps cleanly.
- Cut just below the flower head, leaving the rest of the stem and all the leaves intact.
- Check the cut end for a swelling seed pod — if you can see one, you have cut high enough.
- Never pull the head off. A sharp tug can loosen the bulb in the soil.
- Bin the heads rather than leaving them on the soil, especially if the foliage shows any spotting.
If you cut tulips for the house, take long stems — that does no harm, because the leaves stay on the plant. Just do it while the flowers are still fresh, not after they have faded.
The exception is species tulips such as Tulipa sprengeri, which will seed about and naturalise if you let a few pods ripen. Even then, leave only one or two per clump.
Letting the leaves die back properly
This is the part that tests patience. Tulip foliage needs to stay green for around six weeks after flowering, then it will yellow from the tip downwards. In most of the UK that means leaves going over some time between mid-June and early July, depending on variety and how warm the spring has been.
Leave them alone until they are properly brown and papery. Only then should you cut them at ground level or twist them gently away from the bulb. Anything earlier nibbles into the bulb's reserves.
Two things to avoid:
- Do not tie the leaves in knots or fold them over to tidy the border. Both reduce the leaf area catching light, which defeats the point.
- Do not braid or plait them together, however neat it looks in photographs. The leaves need air and light, not a hairdo.
If the yellowing foliage offends you, plant tulips behind later-flowering perennials such as hardy geraniums or alchemilla, which will grow up and hide the mess while the bulbs finish their work.
Watering and feeding while leaves are green
While there is still green tissue, keep the soil reasonably moist. A dry spell in late May or June will hurry the foliage along and cut the bulb's feeding time short. In the ground, a good soak once a week is more useful than a daily sprinkle. In pots, check every few days, because a small volume of compost dries fast.
Feeding helps, but the type matters. Use a tomato feed or another fertiliser high in potassium, diluted and applied once a fortnight from deadheading until the leaves begin to turn. High-nitrogen feeds push soft leafy growth at the expense of the bulb, so leave the general-purpose plant food in the shed.
As the leaves yellow, taper the watering off. Once they have gone completely, stop. Tulip bulbs sitting in wet soil through a warm, damp summer are far more likely to rot than to flower again.
Tulips in pots and containers
Container tulips are the easiest to manage, and the most commonly thrown away too soon. Keep watering and feeding while the leaves are green, then move the pot somewhere out of the way and let the compost dry out. Do not leave it standing in a saucer of water, and do not leave it where rain will keep it sodden through July.
In autumn, tip the bulbs out, bin the old compost and replant in fresh compost with plenty of grit, at least 15cm deep. Tulips planted deeply are far less likely to be lifted by frost or dug up by squirrels. If your bulbs were small or produced only leaves, replace them — many modern varieties flower best in their first year and decline afterwards.
Problems worth knowing about
Healthy foliage should be green and upright. Grey-brown patches, fuzzy mould or distorted, stunted shoots usually point to tulip fire, a fungal disease that lives in the soil. Lift and destroy affected bulbs and leaves — never compost them — and avoid planting tulips in that spot for three years or more.
Mottled or streaked leaves suggest a virus, which cannot be cured. Remove those plants. Slugs graze young growth in spring, and squirrels and mice will happily take bulbs from shallow planting, which is another reason to set them deep.
A simple routine to follow
Deadhead as soon as the petals fall. Water and feed while the leaves are green, then ease off as they yellow. Wait until the foliage is brown and papery, then cut it to the ground and forget about the bulbs until planting time in autumn. Give them that and most tulips will reward you with another spring, and in good soil some will go on for years.