
Tulips ask for very little, but they ask for it at the right moment. Drop them into cold, claggy soil and they will rot quietly over winter; give them a drained, sunny bed and a sensible depth, and they will do the rest themselves. The whole job takes an afternoon, and most of it happens before the first proper frost.
What follows is the order I work in each autumn, from choosing bulbs to the last tidy-up before winter closes the garden down.
Start With Bulbs Worth Planting
Everything else is easier if the bulb is sound. Pick them up. A good tulip bulb is firm and heavy for its size, with its papery brown tunic intact and no soft patches, blue-grey mould or green shoots pushing through the top. Bulbs sold loose in trays are usually better value than pre-packed ones, because you can reject the squashy ones.
Size matters more than most people expect. Garden-centre bulbs are graded by circumference, and the largest grades give the tallest stems and biggest flowers. If you want a bedding display that reads well from the kitchen window, buy the biggest bulbs you can find.
Think about what you want from them, too:
- For one spectacular spring: Darwin hybrids, triumph and parrot tulips. Reliable, tall and unsubtle in the best way.
- For bulbs that come back year after year: species tulips such as Tulipa tarda, T. humilis and T. clusiana, plus the smaller botanical types. They naturalise well in grass and gravel.
- For pots and small spaces: shorter varieties with sturdy stems, planted densely.
Until planting day, keep bulbs cool, dark and dry in a paper bag or open crate. A sealed plastic bag is the quickest way to turn a healthy bulb into a mouldy one.
Wait for the Right Window
In most of the UK, tulips go in from late October through November, and into early December if the ground is still workable. The trigger is soil temperature, not the calendar: once the soil has cooled, fungal problems are far less likely and the bulb can root without being tempted into top growth.
Planting in September feels productive but often backfires. Warm, wet soil encourages rot and tulip fire, the grey-brown spotting that can linger in a bed for years. If your soil is heavy, late planting is even more important. Bulbs sitting in warm, saturated clay have very little chance.
Pots can be planted a little later than open ground, but aim to have everything in before Christmas so roots have time to establish.
Prepare the Soil Properly
Tulips want sun and drainage, in that order. Six hours of direct light is plenty; deep shade will give you floppy stems and small flowers. Then dig the bed over to a spade's depth, breaking up any compacted layer underneath, and fork in plenty of well-rotted compost or leaf mould. Two or three buckets per square metre is a reasonable starting point.
If your soil is heavy clay
Add horticultural grit as well as organic matter, and plant into a raised ridge or a mound of grit-and-compost mix so water runs away from the base of the bulb. A raised bed solves the problem permanently, and tulips in one are noticeably better than tulips in the same garden's borders.
If you are planting in pots
Use a peat-free compost mixed with about a quarter grit by volume, and never let a pot sit flat on paving without a drainage layer and clear holes. Tulips in pots fail from waterlogging far more often than from cold. Avoid fresh manure anywhere near the planting hole; it encourages soft, sappy growth and rot.
Plant at the Correct Depth
The old rule still holds: plant three times the bulb's own height. For large hybrid tulips that means roughly 15–20 cm deep; small species tulips are happy at 8–10 cm. Deeper planting keeps bulbs cooler, steadies the stems and puts them further out of reach of digging squirrels.
- Loosen the soil at the base of the hole so roots can move freely.
- Set the bulb with the pointed tip upwards. If you genuinely cannot tell which way is up, lay it on its side — it will right itself.
- Space bulbs 10–15 cm apart for a bed, closer in pots where you want a full look.
- Backfill gently and firm with your hand, not your boot.
- Water the bed well once, to settle the soil and start root growth. After that, natural rainfall is usually enough.
Label as you go. In March, every variety looks identical, and a sturdy label is the only thing that will tell you which red was which.
Keep Wildlife Off the Bulbs
Squirrels dig out freshly planted bulbs within days, and mice and voles will work through a bed from below. Physical barriers work; scents and powders usually wash away after the first rain.
Lay chicken wire or plastic mesh over the planted area, pegged down at the edges, and remove it once shoots appear. In pots, a layer of grit on the surface is often enough to discourage digging. Deep planting helps too. If you garden in a squirrel hotspot, plant tulips in aquatic baskets or slatted crates sunk into the border — the roots grow through, but the bulbs stay protected.
Protect the Bed Before the First Frost
Once the soil has chilled, usually from late November, mulch the bed with 5 cm of leaf mould, bark or garden compost. This keeps soil temperature steady and prevents the freeze-thaw cycles that can heave small bulbs out of the ground.
Don't mulch too early, and don't bury the crowns of newly emerging shoots. Warm, damp conditions under a thick mulch are ideal for rot. Water sparingly through winter — tulips dislike wet feet far more than dry ones.
Pots need extra care. Move them against a sheltered wall, raise them onto pot feet so water drains freely, and wrap the outside with bubble wrap or hessian if a hard frost is forecast. Check drainage holes before every cold snap.
Your Pre-Frost Checklist
Before you hang up the trowel for the year, run through this list:
- Bulbs planted at roughly three times their own height, pointy end up.
- Soil firmed, watered once, and free-draining.
- Mesh or wire in place over beds that squirrels visit.
- Labels written and pushed in beside each group.
- Mulch applied only after the soil has cooled.
- Pots raised, wrapped and draining freely.
Then leave them alone. Tulips do their best work in the dark, and the fewer times you disturb them between now and spring, the better they will look when they finally arrive.
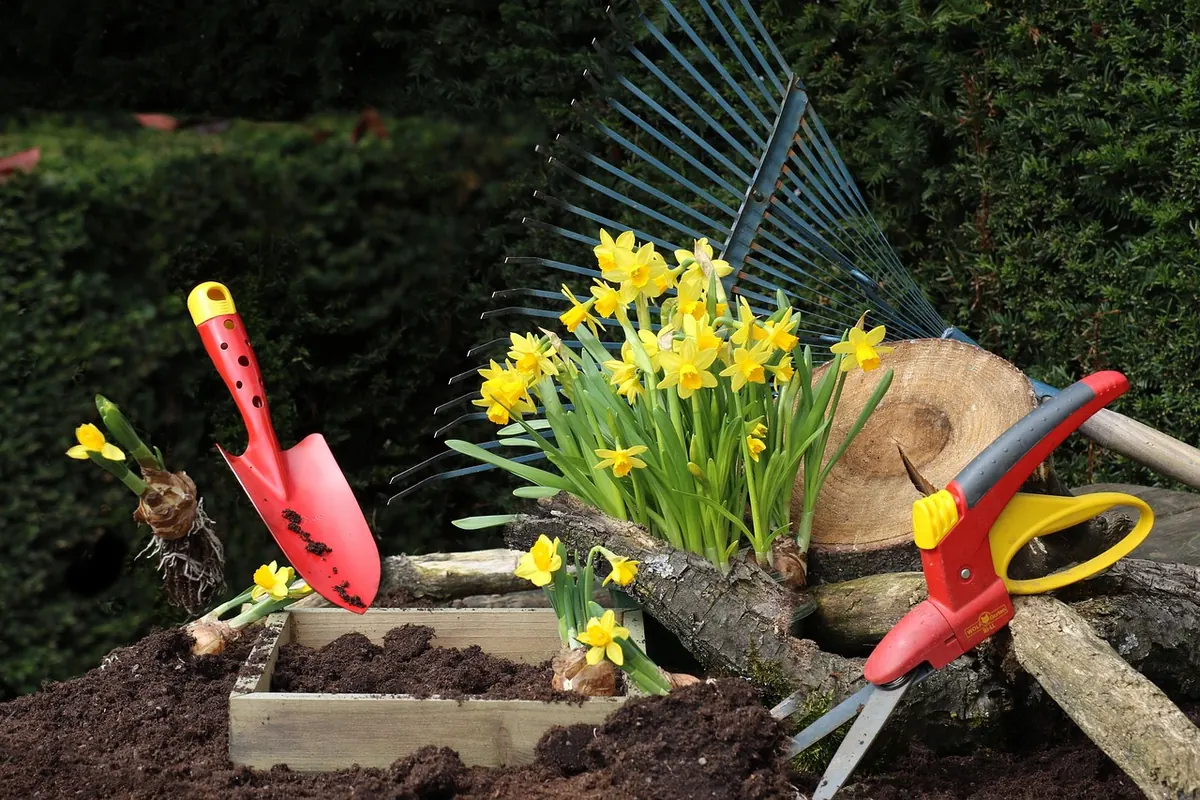
Photo: masterralf / Pixabay